Hello there!
In my last post I've showed you how to do a twisted rope Braid. And today I want to share with you a tutorial which based on this braid.
I wear this updo on a festival from my little sister and got a lot of compliments for this updo, because it looks a bit difficult to do BUT IT ISN'T !!! (:
This hairstyle of Amanda Seyfried, which she wore on an awards night, inspired me to do this updo.
The Updo I want to show you, does not look exactly like Amanda's Updo but it's quiet close to her's ^^

So if you're interested in how to do this updo the keep on reading !!! n_n
What you need:
-Hairbrush
- Hairspray/foam
- some elastics
- some bobby pins
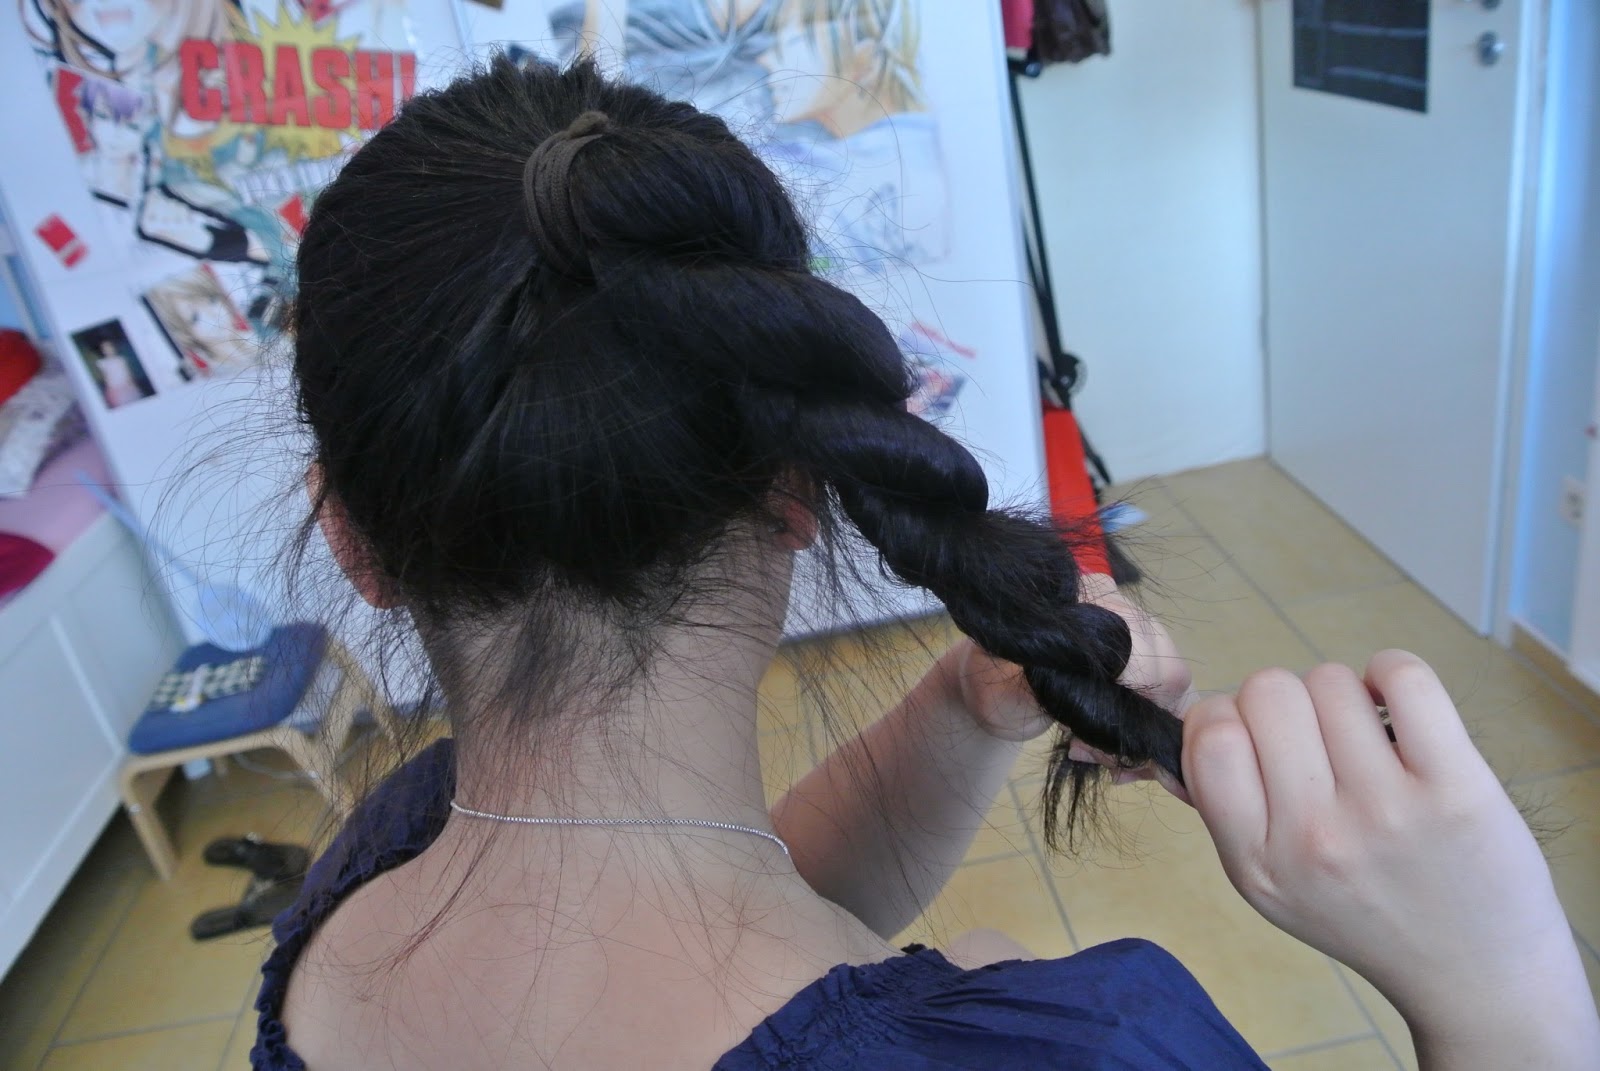
 1. Brush your hair and make sure that there any knots. Then put a little bit of hair foam on your hair to make them easier for you to grab. After all preparations are done part your hair to a middle parting (I hope you now what I mean :s).Now braid both side of your hair to a twisted rope braid.(To see how to do the "Twisted-Rope-Braid" click [here]
2. Knot the two braids together and let the endings hanging out.
In the next step you've got two opinions how to continue with this updo ( I'll show both) ^^

Take some bobby pins and secure the endings of the two braids behind the actual "braid" and hide them so that you can't see any hair tips or the elastics after that.
The final result of this choice is seen in the
last two pictures. :3

Take the two endings and cross them over.
Secure the endings with a few bobby pins on the side of your head, were you cross the endings over....
...Unfortunately I forgot to take a final picture of choice B.
 But when I have to describe it the Updo looks like a little
 swirl. You may see a bit of it in the second picture of choice B :s

As already mention this is the result of choice A
So after all work it should look like this. ^~^

Side view ---------------------------->
....Well this was my tutorial for the "Twisted-Rope-Updo". I think this Updo looks very elegant and chic but you can also wear it on festivals or garden parties.This hairstyle is also good for the hot summer months 'cause you have no hairs in your neck which is really refreshing..hehe...
Thanks for reading my tutorial I hope you enjoyed it and maybe looking forward to my next post !!! <3
~momo-nhi~


